In this post we will learn how to add spatial data to the GeoServer.
Following link will teach you how to download and install GeoServer.
http://effective-gis.blogspot.com/2016/06/geo-server.html
Step 1,
Run GeoServer


Step 6,
Press save button and you can see newly created workspace been added to the Workspaces


Step 11,
Then press "Browse" to select the required shapefile to be added, then press save.


Step 14,
Then select "Publishing" tab and fill required fields which is not mandatory in this stage. Once you finish press save.


Following link will teach you how to download and install GeoServer.
http://effective-gis.blogspot.com/2016/06/geo-server.html
Step 1,
Run GeoServer

Step 2,
To add new data source first we have to create new "workspace" in the GeoServer,

Click on the "Workspaces" and you can see existing workspaces.
Step 3,
Click on the "Add New Workspace"

Step 4,
Assign any name as you wish for the workspace name and assign relevant name after the http://geoserver.org/ in "Namespace".

Step 5,
Then we can enable WFS, WCF,WMS services, and we can add the name, contact, e-mails etc...

Step 6,
Press save button and you can see newly created workspace been added to the Workspaces

Step 7,
After creating workspace we have to create store to add data, then click on "Add new store",

Step 8,
In this practical we are adding an ESRI shapefile, hence select ESRI shapefile option in the view,

Step 9,
Select created workspace to add new data from the drop down list,

Step 10,
Type name of the data source (you can give any name as your wish) and always better to give related description about the data,

Step 11,
Then press "Browse" to select the required shapefile to be added, then press save.

Step 12,
We have to publish the added data in-order to display in the server. Press "publish"

Step 13,
Press "Data" tab and fill where necessary and we have to concern more on Coordinate system (SRS). we can select required coordinate system by clicking on "Find"button.


Then click on click on "compute from data" to generate bounding box,

Step 14,
Then select "Publishing" tab and fill required fields which is not mandatory in this stage. Once you finish press save.

Step 15,
Newly created data layer will be displayed in "Layers".

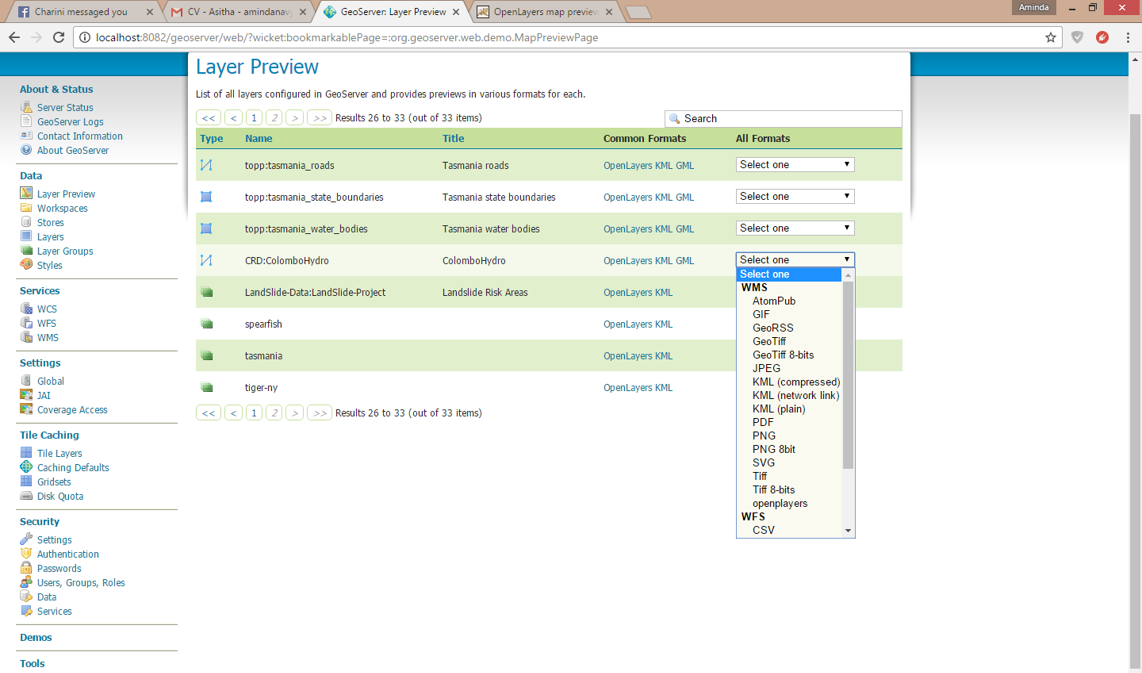
Step 16,
Select "Layer Preview" to view the added data in GeoServer.

Select OpenLayers option to view the data as an openlayer,

Click over the data layer to view the attributes.

Click on "Toggle option toolbar " to add toolbar to the viewer.

We can change the width and the height and many other options using toggle editor tool bar.

Step 17,
We can download KML file directly from the GeoServer by clicking on the KML option.


Step 18,
We can download data in many formats from the GeoServer and in the next post we will learn how to connect to the GeoServer through Local host and from a different Network.